If your business is one of the more than 120 million using Office 365, chances are you are using Microsoft Outlook for email. Office 365 is a great fit for many businesses, particularly since it provides businesses with a secure email option that can be accessed from any location.

The speed and immediacy of email make it one of the most useful business tools available. Still, there are ways to make it more efficient. Automatic email signatures are one way to speed your communications even further. Standardized content applied to the end of each email can provide additional contact information, a marketing slogan, or a disclaimer as occasion warrants it. But how do you change your email signature in Office 365?
Changing Your Signature in Outlook for Office 365
If you want to create or change your email signature in Outlook for Office 365, follow these steps:
- Select the File tab
- Go to Options
- Select Mail

- Choose Create or modify signatures for messages
- Select Signature to edit or select New to create a new signature
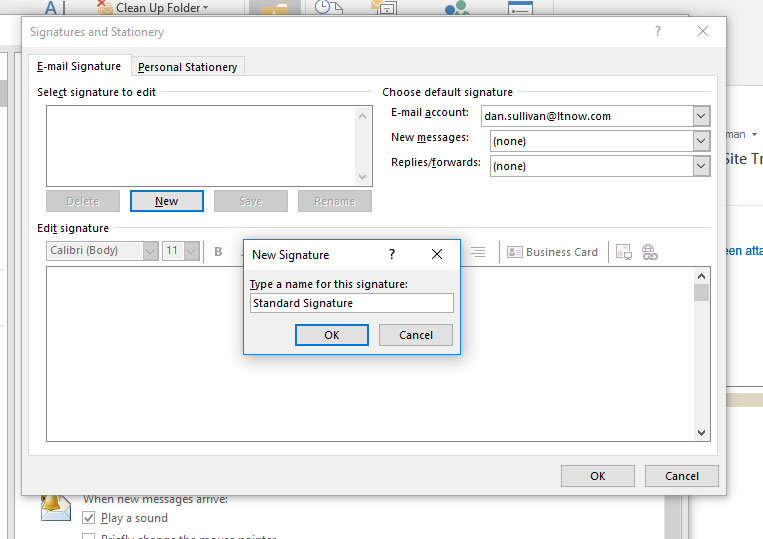
-
- The first signature you create will be your default signature. You can rename this signature by clicking Rename
- Choose default to select the email account to associate with the signature
- You may designate specific signatures for new messages, replies, and forwards, or manually add signatures to messages by leaving this option as (none)
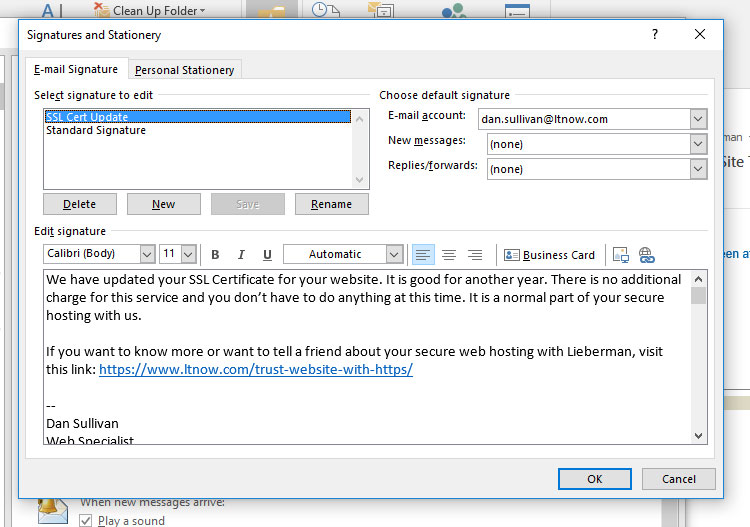
- Click OK to exit Signature page
- Click OK to exit Options page
Creating or Changing a Signature in Outlook Web App
If you use Outlook Web App on a mobile device, tablet, or laptop, there is a separate process for creating or changing an email signature. A signature created or changed using Outlook for Office 365 will not transfer into the web app. Here’s how you change your signature in the Outlook Web App:
- Select the settings menu in the upper right corner
- Select Options
- Under Mail>Layout, select Email Signature
(You can also search for ‘signature’ in the search box under the gear.)
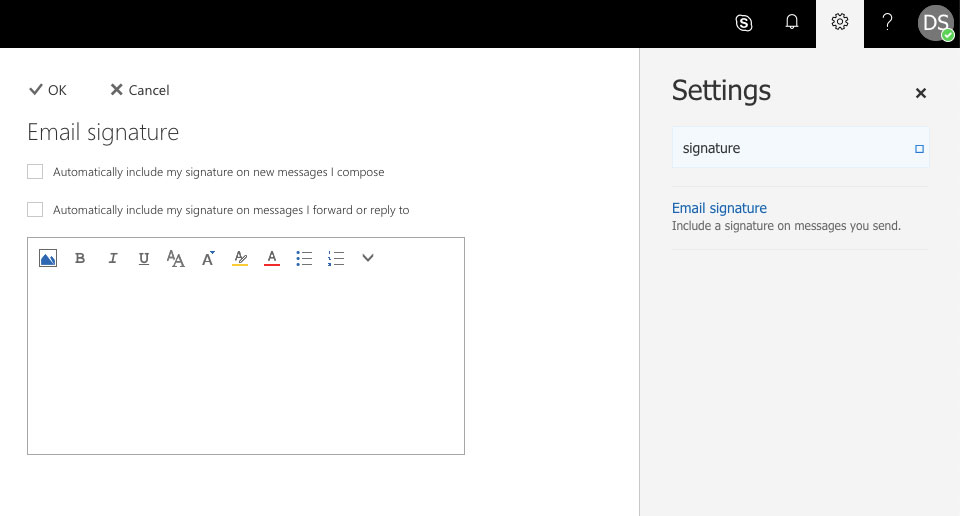
- Create your signature. The toolbar allows you to format your signature with fonts, colors, and size. You can also choose to automatically include your signature in each email at this time. Or, if you wish to manually add your signature each time, leave this box unchecked.
- Click Save
Company-Wide Email Signatures or Disclaimers
Many businesses have the need for a standardized signature or disclaimer that must accompany each email. Office 365 allows businesses to set up an organization-wide signature through an administrator account.
- Log in to the Office 365 portal with an administrator account
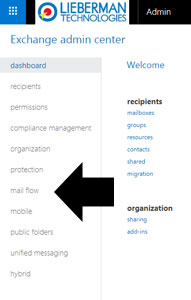
- Go to Admin Centers and click Exchange
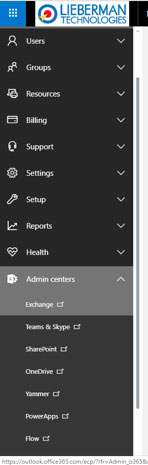
- Select Mail Flow
- Click the Plus icon and select Apply Disclaimers
- In the New Rule window, name your rule and configure settings
- Apply this rule if…
- Do the following…
- Select Enter Text
- Enter the text and HTML code
- Select the preferred fallback action (wrap, ignore, reject) in case of problems with inserting the signature
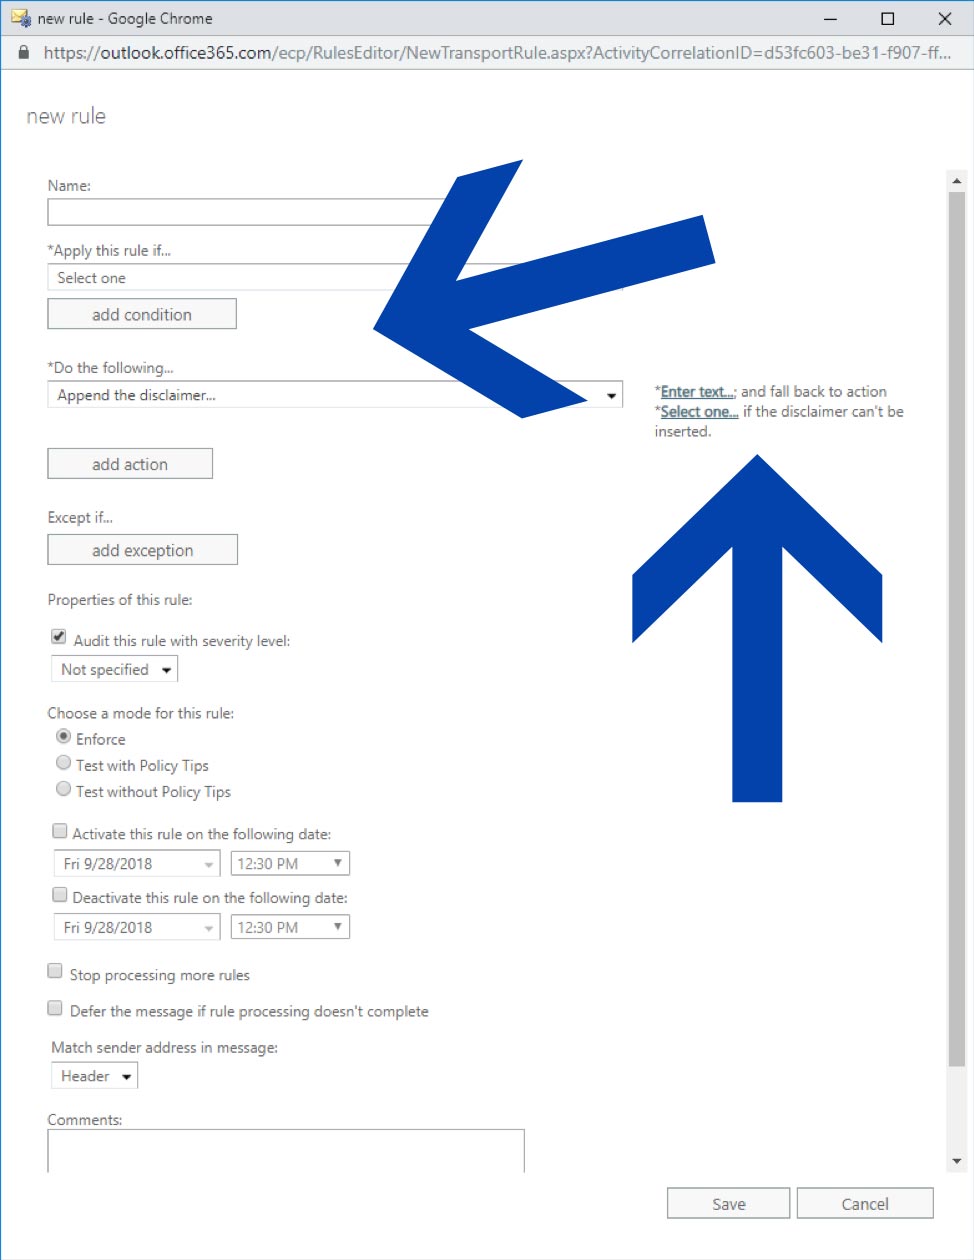
- Adjust or keep the default settings as needed
- Click Save
A Few Limitations for Office 365 Email Signatures
Universal and company-wide email signatures can help your business present a consistent image to customers. There are, however, a few limitations. With Office 365 email, you cannot:
-
-
- Add photos to signatures
- Include signatures in replies or forwards
- Use HTML format in emails generated via mobile devices
- Delegate signature management to non-administrators
- Test email signatures in advance
- Eliminate blank Active Directory fields in a signature
-
Since many businesses prefer a standard, companywide email signature, it is worthwhile to create a signature that works for most users. Set the standard and instruct your employees on how to make changes to their signatures as occasion warrants.
As business tools go, email is one of the most important. Choosing the right email client for your business can help boost productivity. Lieberman Technologies can help you to sort out the options available and select the email solution that best fits your company’s needs. Contact us for more information!